Augmented reality(AR) systems come in different shapes and forms. AR can be implemented in mobile devices and use GPS information, image recognition, fiduciary markers and QR codes to to augment or display specific information over one’s surroundings. AR can also be implemented in various other technologies and environments. Some of these environments include medical training, manufacturing and repair, annotation and visualization, entertainment industry, military training etc.
To avoid limiting AR to a specific technology, Azuma (1997) proposes that AR system should have the following characteristics in order to be considered an AR system:
- Combines real and virtual
- Interactive in real time
- Registered in 3D
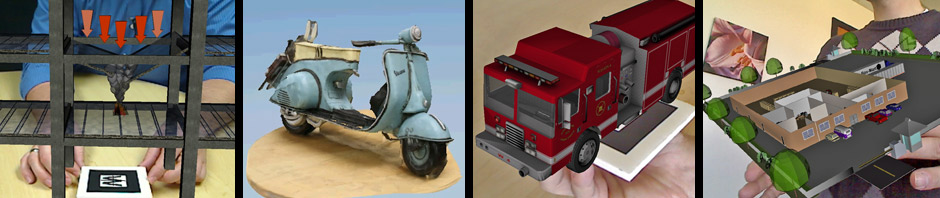
Most of the experiments and projects posted on this blog will focus on desktop and Web AR fiduciary marker based AR system. AR fiduciary markers are objects used in the field of view of an imaging system as points of reference of measure. These markers are used in AR so that the objects can be recognized in images of the scene. There is a good online marker generator located at: http://flash.tarotaro.org/blog/2008/12/14/artoolkit-marker-generator-online-released/
To build an Augmented Reality system based on a fiduciary marker, you will need the following:
- Marker or a pattern it two versions: printed as seen in Figure 1, and .patt file store in your computer.
- Camera (connected to the computer)
- Computer with running AR software
- Output device: Computer monitor, projector or AR glasses.
So this is how it works:
- You will prepare pattern files in advance. You can make your pattern file and print it yourself or use some of the available online tools. You can also download two commonly available kanji and hiro markers. Print the PDF file, cut it out with the scissors and have it ready. You will use .patt file later to connect it to a 3D model, image or a movie clip.
- Make sure you have the camera connected to the computer. We are using Logitech Pro 9000 which works very well with BuildAR.
- You will need a computer with some sort of AR software on it. Since we don’t have the time nor personnel to code our own, we are using commercially available BuildAR. BuildAR also has a free versionwhich works very well. The only difference between the two is that Pro version has slightly better tracking and the ability to add images and video clips to name a few.When you start the AR software on your PC, you will have to:
- Add markers or .patt files that correspond to the printed pattern (Hiro and Kanji)
- Assign 3D model to the marker
- Specify the input camera
If everything is connected correctly, you should be able to see objects (3D files) augmented over the marker live on your output device of choice (monitor, projector or AR glasses).

Bibliography
R. Azuma, A Survey of Augmented Reality Presence: Teleoperators and Virtual Environments, pp. 355–385, August 1997.
5 Responses to How to AR